Nuba Roasted Cauliflower Nuba Roasted Cauliflower Recipe – Najib’s Special Tonight I attempted a homemade version of my favorite Nuba dish – Najib’s Roasted Cauliflower. It is deep-friend at the actual Nuba restaurant, but at home, I don’t deep fry anything so I created a baked rendition.
And let me say, if you like the Nuba version, you will love this one too! I looked online and consolidated a few ideas around this idea to get the best mix and it is very close to the actual taste.
Roasted Cauliflower
Yummy Roasted Cauliflower ingredients: 1 large head of Cauliflower 3 tbsp olive oil salt pepper 1 teaspoon ground cumin 1 teaspoon paprika 2 teaspoon garlic salt Juice and rind of 1 lemon Roasted Cauliflower Instructions:
Wash cauliflower and cut into bite-size florets. Preheat oven to 400 degrees. Pat cauliflower dry and place florets on a roasting sheet Sprinkle cauliflower with a generous amount of olive oil, salt, pepper, and spices, mix around with hands to coat everything. Slice lemon rind into strips and add to mix Roast in oven for 60 minutes, mixing every 15 minutes or so until Cauliflower cooked on all sides. (Note: For a crispier version, leave in longer) Sprinkle cauliflower with lemon juice Taste and add salt if necessary. Once done, allow time to cool and I serve it with our delicious Tzaziki=yum
Cook brown rice, millet, quinoa or and set aside. You’ll need about 2 cups cooked for this recipe (which was equal to 1 cup dried millet).
Add sesame oil to a large pan or wok over medium high heat. Add broccoli and cook for 3 minutes, stirring occasionally. Add carrots, snow peas and vegetable stock. Stir and cook for 5 minutes. Add greens and cook another 2 minutes or until greens are wilted. Remove from heat. Sprinkle with salt and pepper.
To make the dressing, combine miso, lemon juice, fresh ginger, tamari, sea salt, rice vinegar, and honey. Stir with a small whisk.
In a bowl, scoop into different sections: grain, broccoli/snow pea mixture, red cabbage, roasted chickpeas, and cashews. Drizzle with sauce and serve.
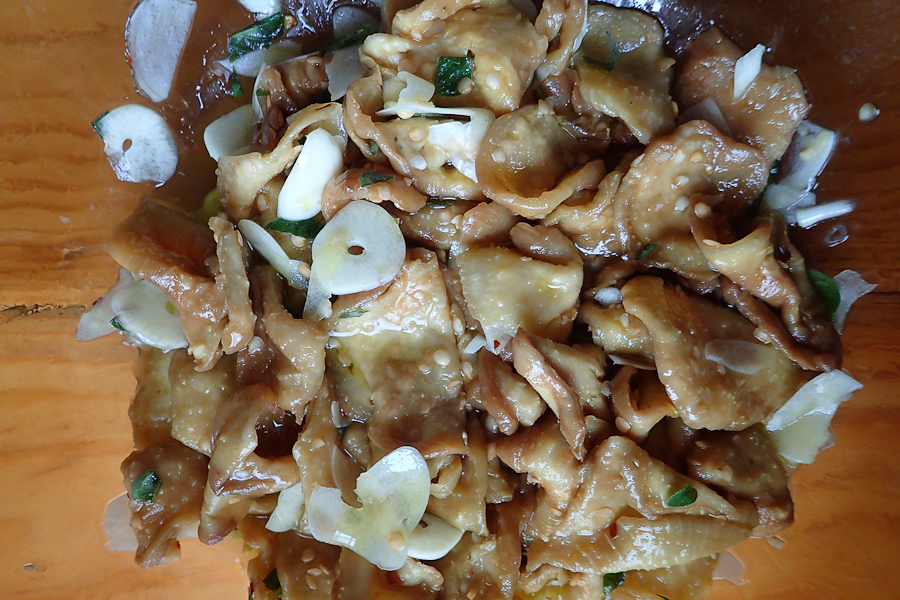
I first discovered this delicious pickled eggplant dish on The Mother Earth News website. I could not believe how delicious this turned out to be, perfect on sandwiches, in a wrap, or diced and added to a salad (with some of the garlic infused oil) for a zesty kick. The flavour and texture is similar to commercially marinated artichoke hearts and, as such, can be used on pizzas as well. In fact, throw it in any recipe where you are looking for a tangy garlic addition to the flavour. You won’t be disappointed.
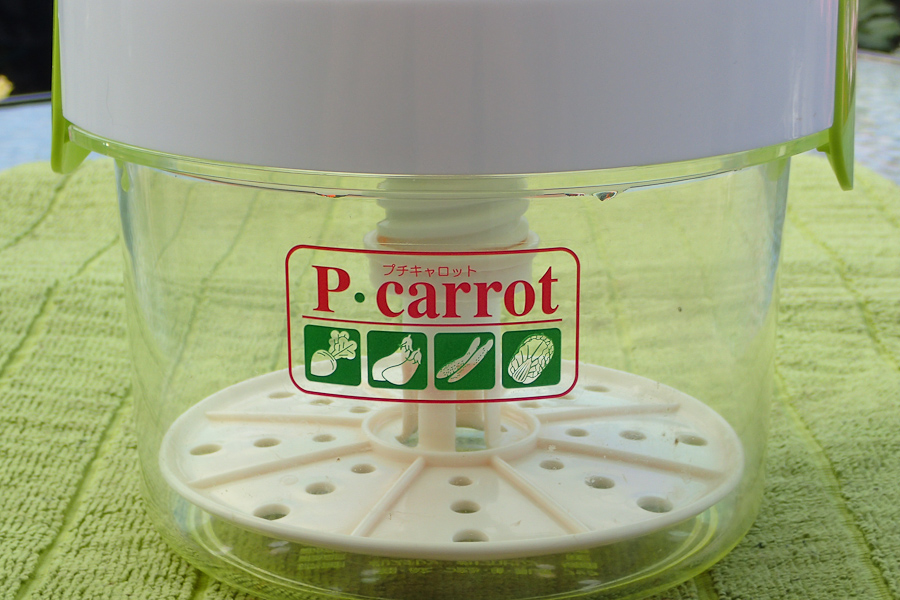
I’ve honoured the ingredients of the recipe as is because the flavours are amazing. However, the original recipe calls for the eggplant to be progressively pressed and drained over 3 days using a wooden grape press. With no grape press in sight I had to improvise and use my Japanese pickle press instead.
My beloved and trusty Japanese Pickle Press
So instead of allowing the liquid to drain off over the 3 days as you would with a grape press, I let the eggplant ferment in it’s brine then continued on with the rest of the recipe. I’ve never tasted the original, but the fermented version is a winner in my book.
This condiment is very easy to make but it is done in 3 stages over a period of about 5 days. Then it is best left to sit for another 2 weeks to allow the flavours to mingle. The ingredients list below will yield one 500 ml jar worth of pickles so if your present supply starts getting below the halfway mark you’d better get cracking on your next batch.
Stage 1:
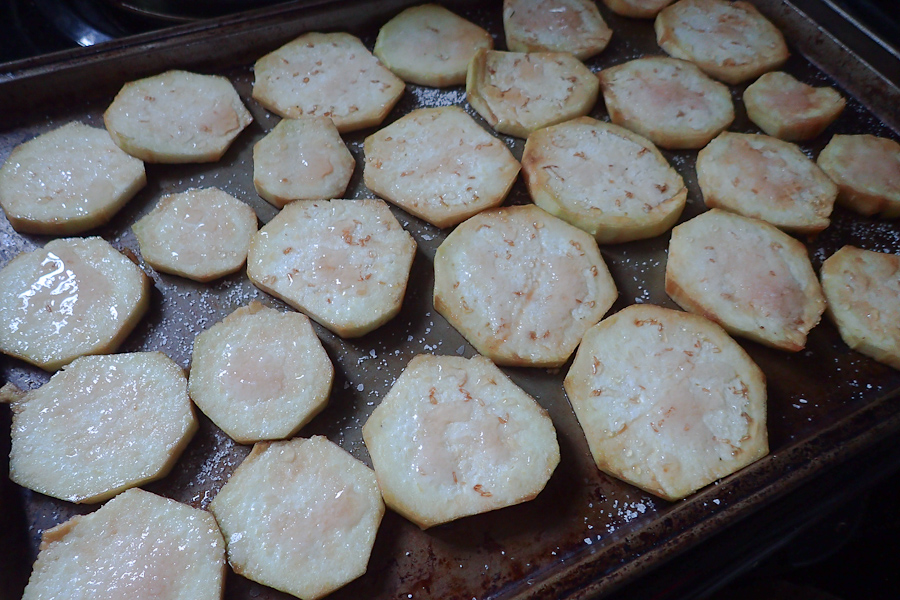
Peel the eggplant and slice into ¼ inch rounds and lay the rounds out on baking pans. Thoroughly salt both sides of the pieces and let them sit for 30 minutes.
Slices salted for 30 minutes
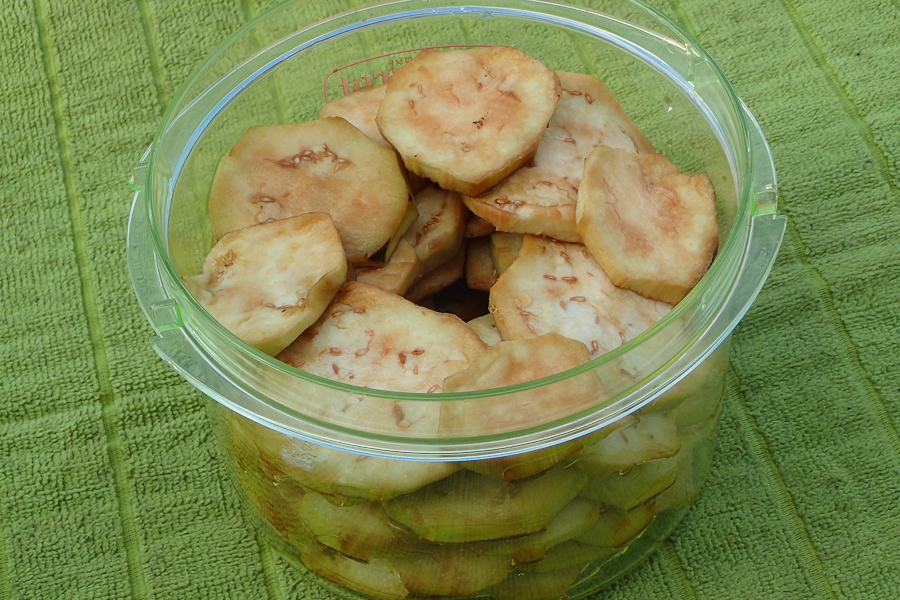
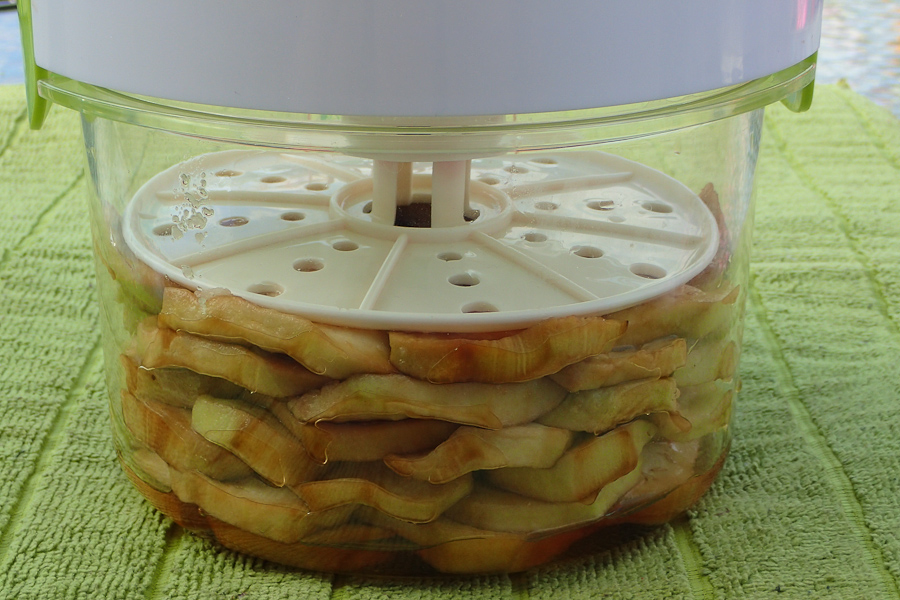
After the 30 minutes transfer the eggplant to your press–do not rinse the salt off. Allow the eggplant to sit for 3 days.
Slices packed and ready to press
Press on
Stage 2:
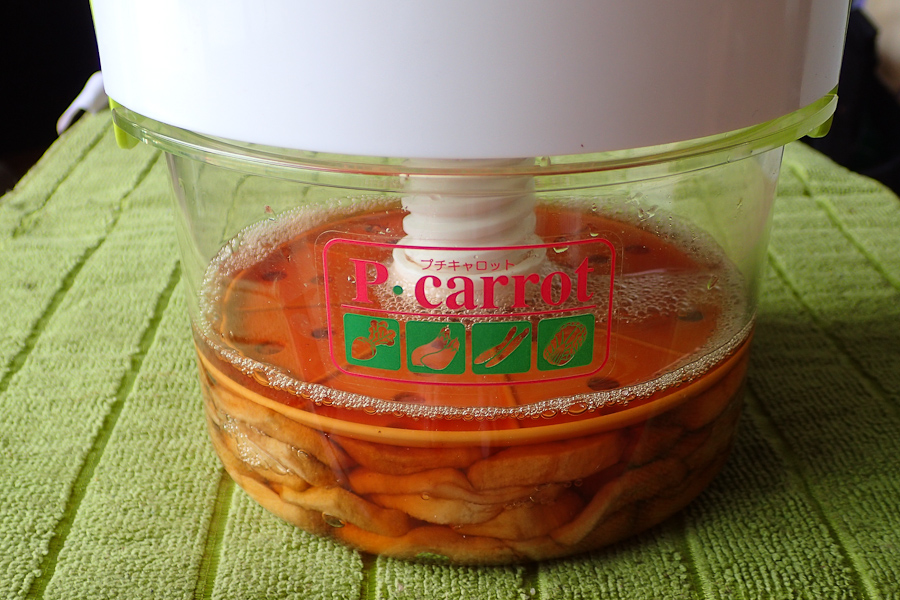
This pickle press is not as strong as a grape press so it will take a while for the liquid to release, but after 3 days your eggplant will have released enough liquid to look like this.
Eggplant after being pressed for 3 days
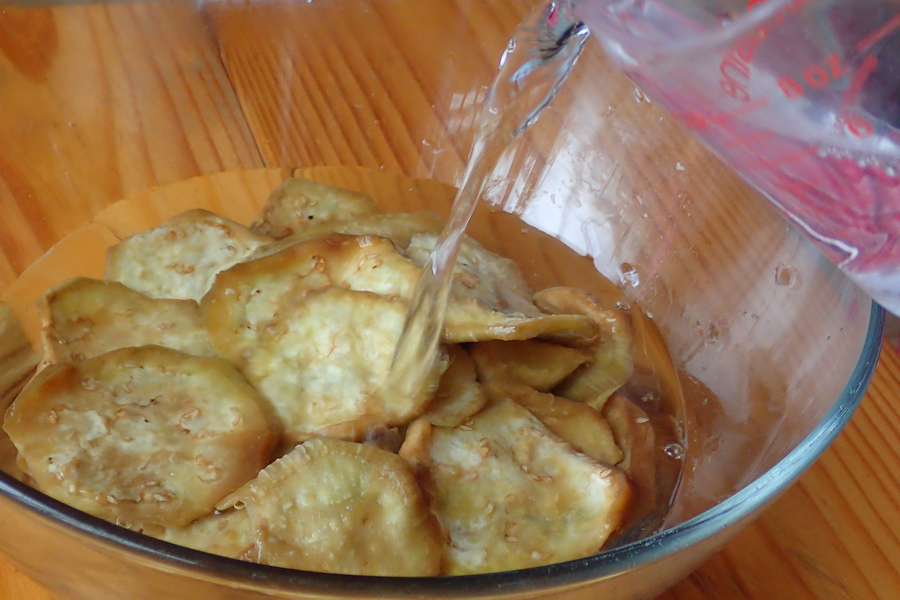
Remove the eggplant from the brine and squeeze out any remaining liquid. Peel the pieces apart and transfer to a large glass container. Cover with enough vinegar to fully immerse the eggplant (about 2 cups) and weigh down the eggplant with a clean plate. Cover with a clean cloth and let sit for another 2 days.
Cover in vinegar
Squeeze any remaining brine out
Stage 3:
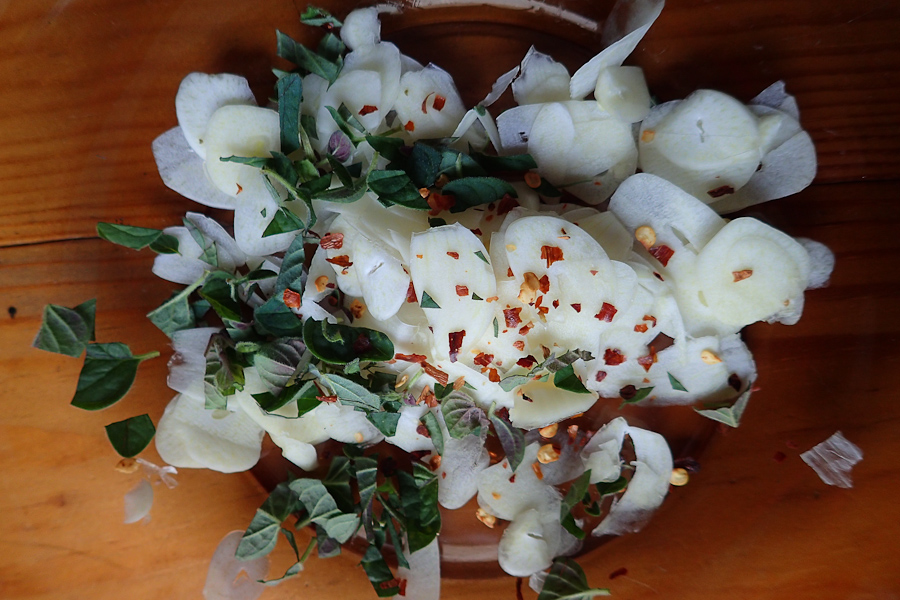
Drain the eggplant slices and discard the vinegar. Gently squeeze the eggplant to remove excess vinegar. In a large bowl, mix 1/2 of the oil with the garlic, chilli flakes and oregano. Coat the eggplant in the oil and seasonings.
Pickled Eggplant seasonings
Make sure each piece is coated in oil
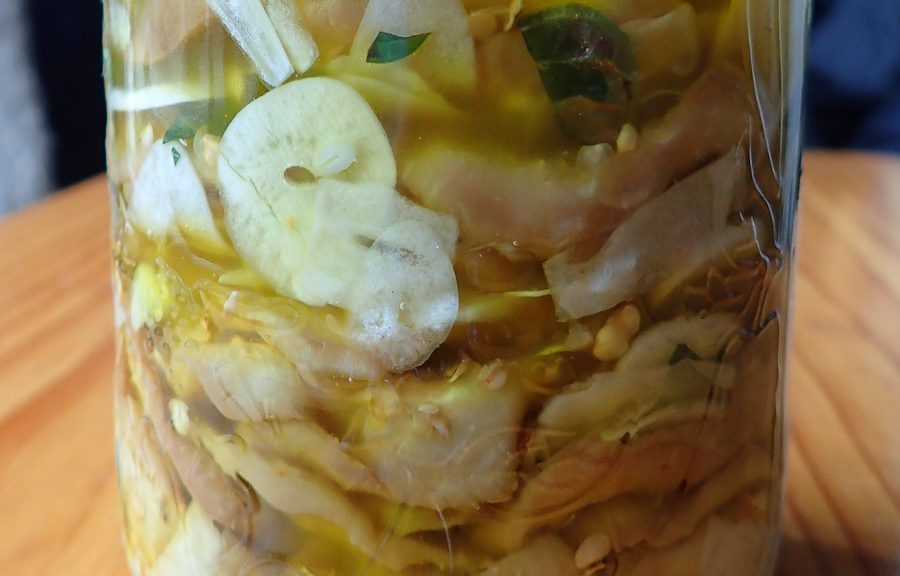
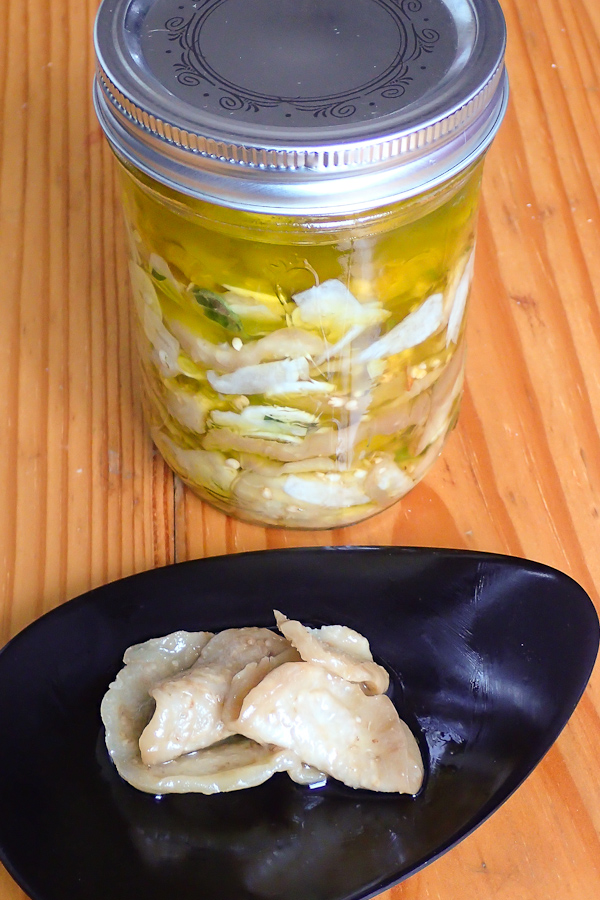
Fill your sterilized jar with the eggplant mix and cover with a ½ inch oil on top. Cap the jar and store at room temperature for 2 to 3 weeks before eating.
Final product ready for storage (plus a sample from my last batch)
So this recipe takes a little time but it’s well worth the wait. Try it for yourself and let me know how it turns out.
Ingredients
3 medium eggplants, sliced into ¼ inch slices
¼ cup salt
2 cups distilled vinegar
1 cup extra virgin olive oil
5 cloves of garlic
a pinch of oregano
a pinch of red chilli flakes
Preparation
Stage 1:
Peel the eggplant and cut into 1/4-inch rounds. Lay the slices out across a couple of baking sheets and season both sides evenly with the salt. Let sit for 30 minutes.
Transfer the slices to a clean mason jar or pickle press. Pack the eggplant into the jar/press in circular, overlapping layers (do not pat dry first). Apply weights or press until eggplant is submerged in brine. Cover and let sit for 3 days.
Stage 2:
Remove the eggplant slices and discard the liquid. Transfer the eggplant to a glass container and pour in enough vinegar to cover completely. Let the eggplant soak for 2 days.
Stage 3:
Sterilize 1 500ml jar in simmering water for a few minutes.
Drain the eggplant slices and discard the vinegar. Gently squeeze the eggplant to remove excess vinegar.
In a large bowl, mix 1/2 of the oil with the garlic, chilli flakes and oregano.
Coat the eggplant in the oil and seasonings.
Create stacks of eggplant of about 1 – 1½ inches high and transfer them to the sterilized jar.
Drizzle a bit of olive oil on top of the slices, then repeat until all of the eggplant has been added.
Cover the eggplant with 1/2 inch of oil, and remove any air pockets.
Cap the jar and leave at room temperature for 2 to 3 weeks before eating.
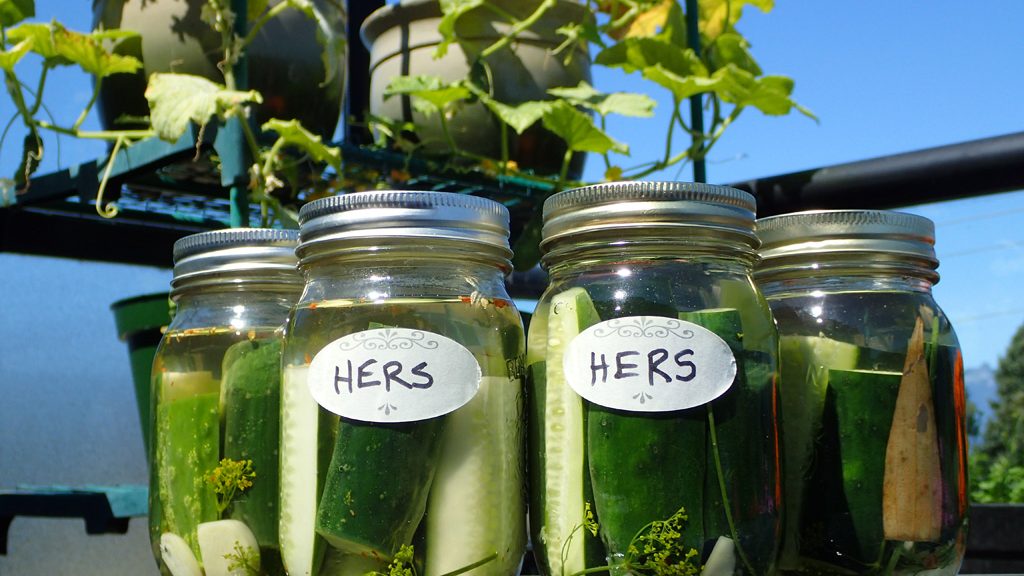
Hers and Hers Pickles: lacto fermented on the right, vinegar style on the left
Leanne favours the vinegar version but I’m more into the whole lacto fermentation process because I like the idea of having probiotic munchies on hand. I also like the mad (amateur) science that comes with lacto fermentation — things bubbling in jars is really quite interesting.
From a health perspective the lacto fermented pickles are definitely better for you (see this writeup on the benefits of probiotics here) but I’ve been hit and miss with getting a proper crunch in my final product (the lacto fermented pickles in the picture above went mushy after 4 days and had to be chucked.) Using the vinegar process to preserve the pickles may kill off some healthy vitamins and enzymes but it results in a more consistent and crunchy final product.
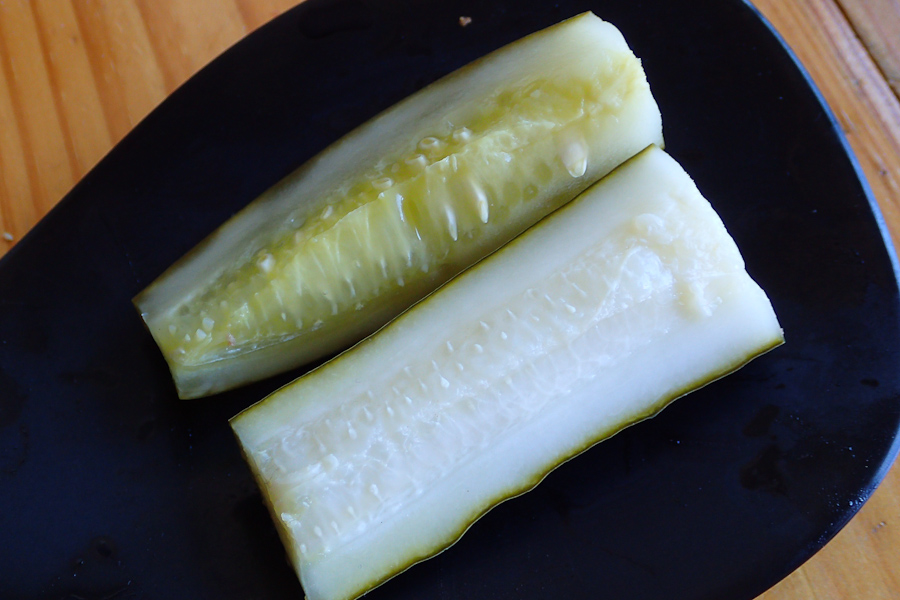
Speaking of final products, here is a shot of a lacto fermented pickle (about 10 days old) and a vinegar pickle (about 2 weeks old). Note the colour differences–the vinegar pickle looks like it’s been frozen in time (!) while the lacto fermented one has turned an olive green. They both had a similar crunch, but the lacto fermentation process had softened the skin of that pickle somewhat. The vinegar pickle’s skin was very crispy in comparison. Almost too crispy.
Lacto fermented (top) vs vinegar processed (bottom)–which one’s better?
In a blind taste test Leanne wasn’t 100% sure which one was which, but still preferred the vinegar one. I liked the flavour of both, but I wished I had been able to ferment the lacto version longer because the sour taste of a long ferment is way tastier than the sour of the vinegar version. However I was afraid of another spiral into pickle mush so I put the fermented version in the fridge after 7 days. I have had successful pickle ferments in the past and I know that the longer they sit the better they get.
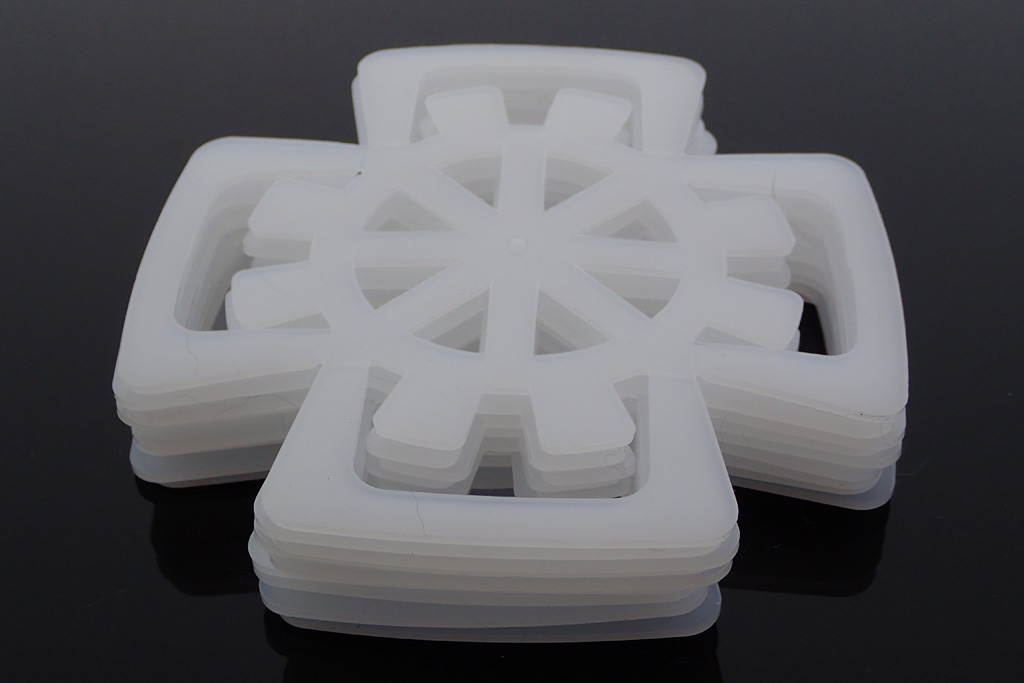
One final note: it is crucial that cucumbers (or any fermenting veggie) remain under the brine for duration of the fermentation. You can buy pricey designer weights or you can fill a baggie with brine and stuff it in the jar, it’s up to you. I discovered these cool plastic things (can’t remember their name) at Gourmet Warehouse which work perfectly. They work out to be about $1 per piece, which is way cheaper than having to trash a batch of pickles due to spoilage.
Plastic, sometimes there’s no avoiding it
Perfect for pickling
Here is a basic recipe for each style, feel free to improvise on seasonings to suit your taste.
Basic Lacto Fermented Pickle Recipe
The thing to remember with the lacto fermented version is salt ratio. I use Kosher salt and I find 1 Tbs per cup of water to be a good brine ratio. Also, the problem with mushiness is apparently remedied by the addition of tannin (ie: grape leaves, oak leaves, some people recommend adding black tea). I used bay leaves because I don’t have access to oak or grape leaves where I live.
Ingredients
2 cups cold fresh water
2 tablespoons salt
2 cloves garlic peeled and mashed
2 bay leaves, or more to taste
1 teaspoon whole coriander seeds
1 teaspoon whole black peppercorns
1 bunch fresh dill weed
4 or 5 fresh pickling cucumbers, washed thoroughly
2 x 500ml mason jars, washed and sanitized
Preparation
Soak the cucumbers in cold water in the fridge for an hour to ensure crispness
Mix the water and salt together until the salt has dissolved. You may want to heat the water slightly to help it dissolve (but let it cool before adding it to the cucumbers)
Divide the dill, garlic and spices between the 2 jars
Gently pack the sliced cucumbers into the jar until the jar is full. The more firmly you pack them in, the the less likely the pickles will float to the top
Pour in the pickling brine to a ¼ inch from the top of the jar
Secure the pickles under the brine with your handy dandy plastic thing
Loosely secure the lid to allow gasses to escape
Let pickles ferment for a week, checking every day to ensure pickles remain submerged. Small bubbles may appear, the brine may become cloudy and a foam may appear on the surface–all of this is normal in the fermentation process
Vinegar based pickle recipe
This is a fridge version recipe, which means it is not hot water canned. As the title suggests it goes straight into the fridge after packaging and is left to season for a couple of weeks. Depending on the size of your fridge, this is the easiest and fastest way to pickle with vinegar. If you are doing a bulk batch (or have no room in your fridge) you will probably want to take the recipe below and hot water can it. That way you can store it long term in your pantry, garage or other handy space.
Ingredients
1 cup vinegar
1 cup filtered water
1 tablespoon kosher or any non-iodized salt
1.5 tablespoons sugar
2 cloves of garlic, mashed
seasonings of your choice (dill, mustard seed and peppercorns are a good base
mix)
4 or 5 fresh pickling cucumbers, washed thoroughly
2 x 500ml mason jars, washed and sanitized
Preparation
Soak the cucumbers whole in cold water in the fridge for an hour to ensure crispness
Mix the water, vinegar sugar and salt in a saucepan and bring to a gentle boil
Divide the dill, garlic and spices between the 2 jars
Cut the ends off the cucumbers and quarter them
Gently pack the sliced cucumbers into the jar until the jar is full
Pour the just boiled brine over the cucumbers in the jar
Secure the pickles under the brine with your handy dandy plastic thing
Clean the rim with a clean towel and put on the lid
Try not to sample the pickles for at least a week. Can be stored in the fridge for up to 6 months
Have you tried making both kinds of pickles? Which style do you prefer?